Physically-Based Rendering & IBL
Now this is the exciting part of rendering, where stuff starts to look good and not just passable.
Now, I must preface this by saying that this is when my engine shifted from implementing things I knew from school and previous projects to implementing new features. As such, this is where I swapped from leaning on my existing knowledge and resources on Vulkan to working on new things.
Therefore, I had to follow learnOpenGL [1] when it came to understanding the math behind PBR, and I will be referencing it heavily.
So to start off, we should talk a little, not much, but it helps ground why I am doing the things I want to. So, most renderers are trying to achieve photorealism, or at least enough photorealism to support their stylization goals.
In the prerendered world, this has been achieved through ray tracing, path tracing, and, of course, physically based materials for quite a while. However, in real-time, using all of this is too slow and must be used sparingly. However, the principles behind PBR doesn’t require real-time raytracing, BRDFs can be apporixmated using precomputed textures, BRDF LUTs, Irradiance, and prefiltered environment specular maps.
Texture maps
So firstly, before we can really start working on anything PBR, I needed to implement the changes to support PBR textures and import them into my shaders so they can be used to define the object’s material properties. For this engine, I am supporting PBR materials authored with a normal texture and ORM (Occlusion, Roughness, Metallic) texture supplied by the GLTF file.
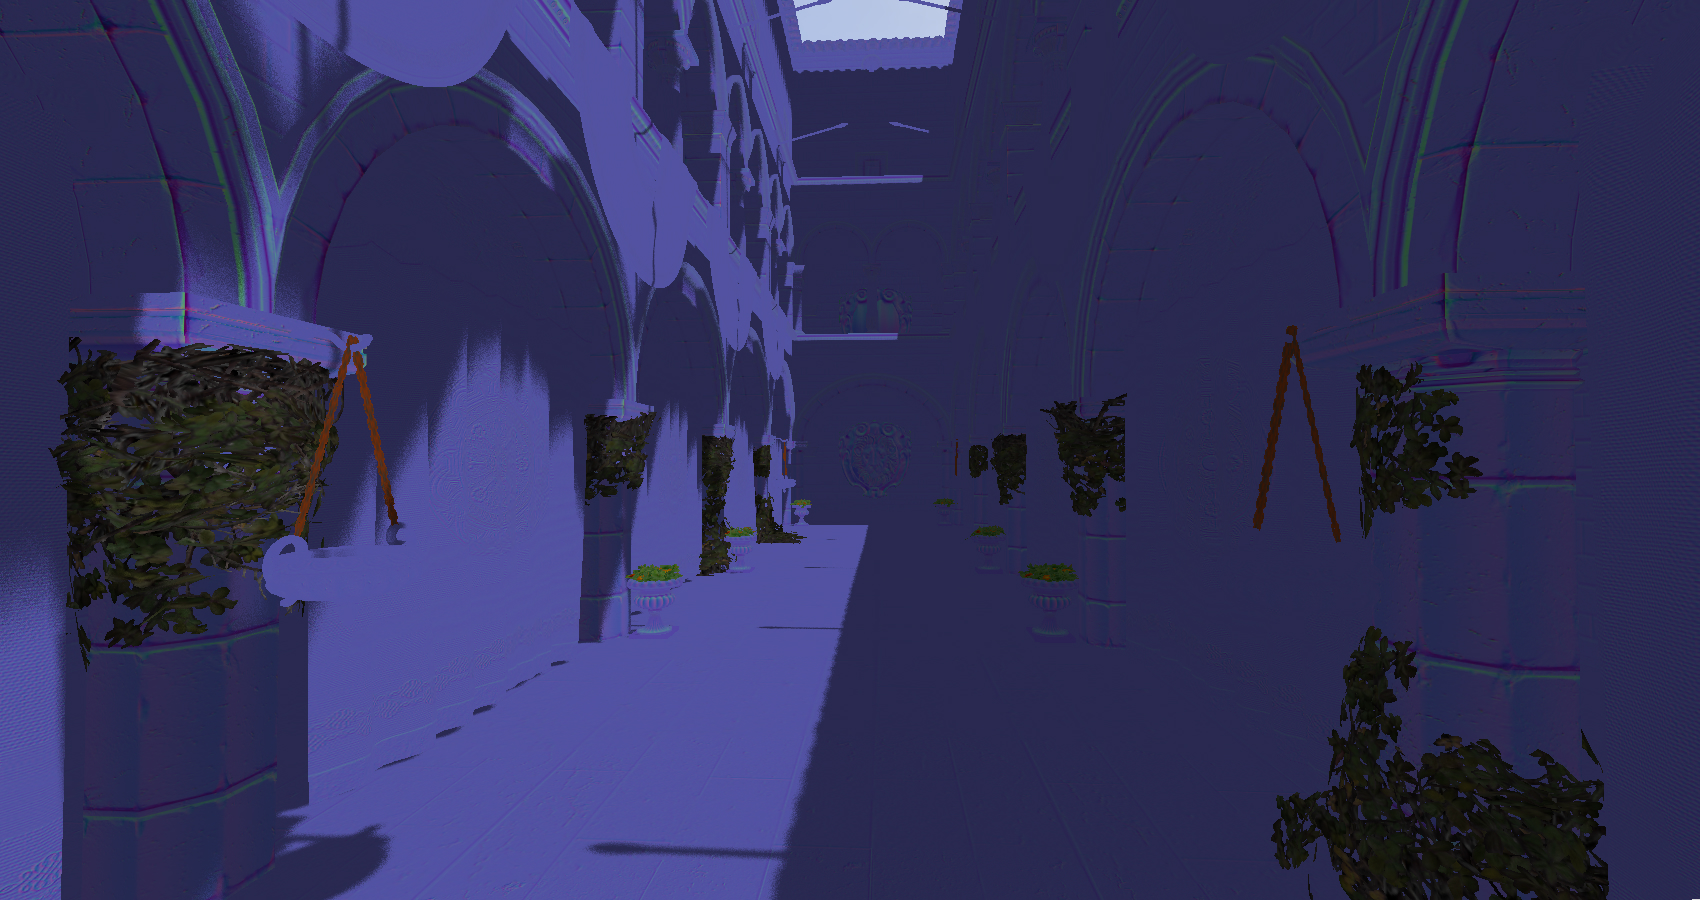 Here’s our normal textures applied to Sponza
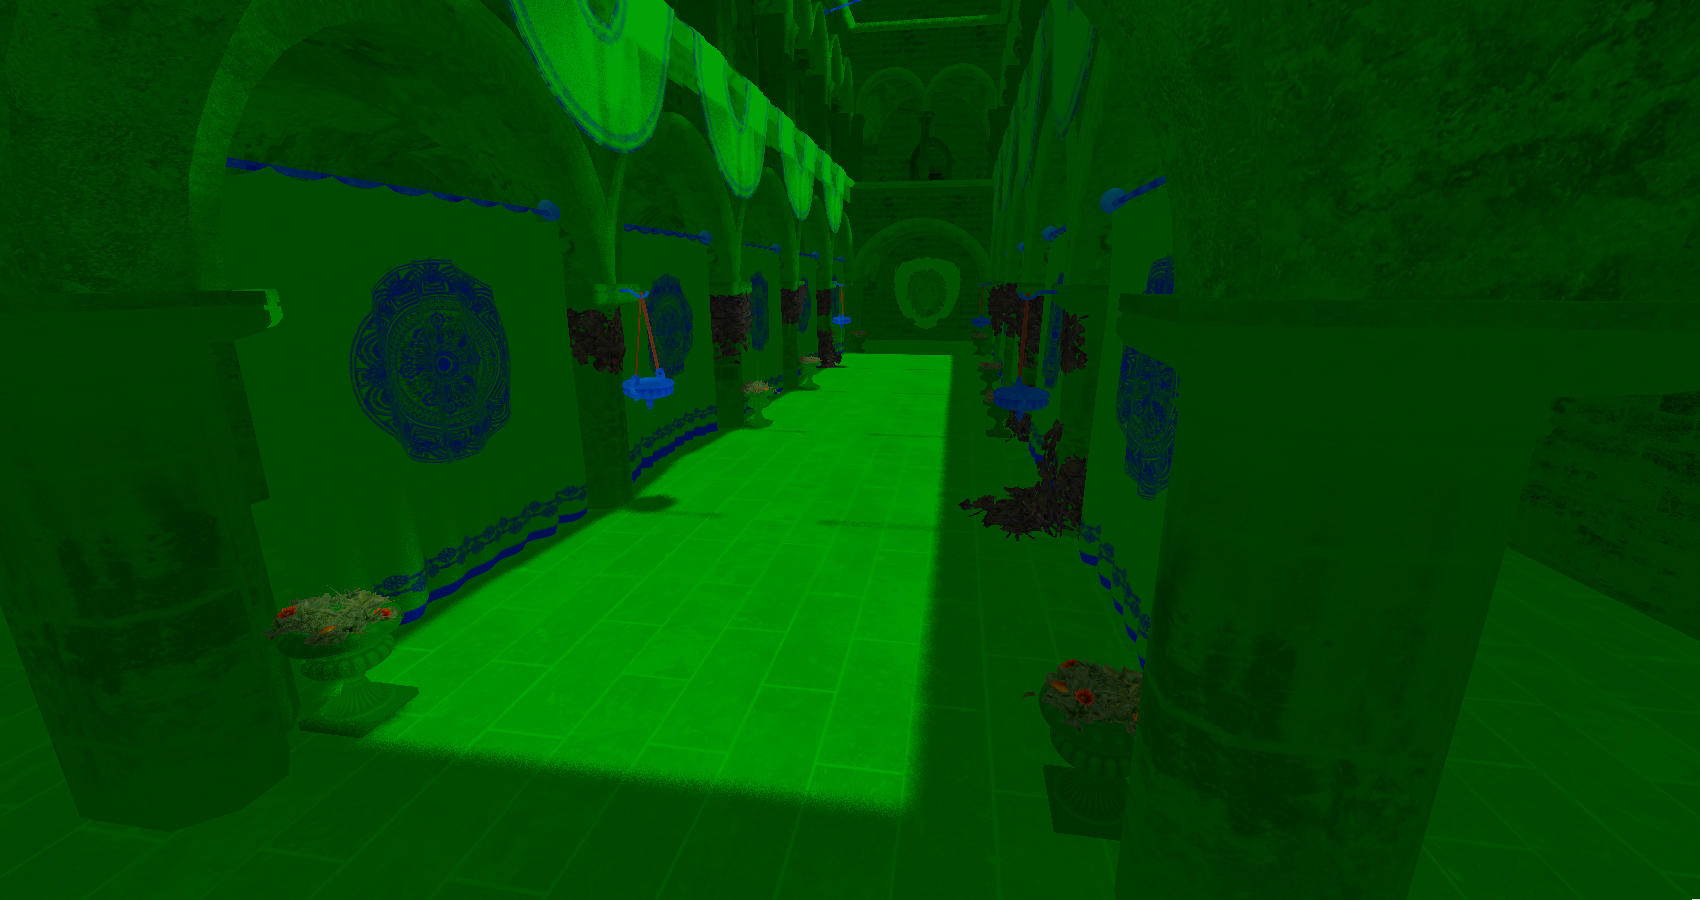 And our MetallicRoughness texture.
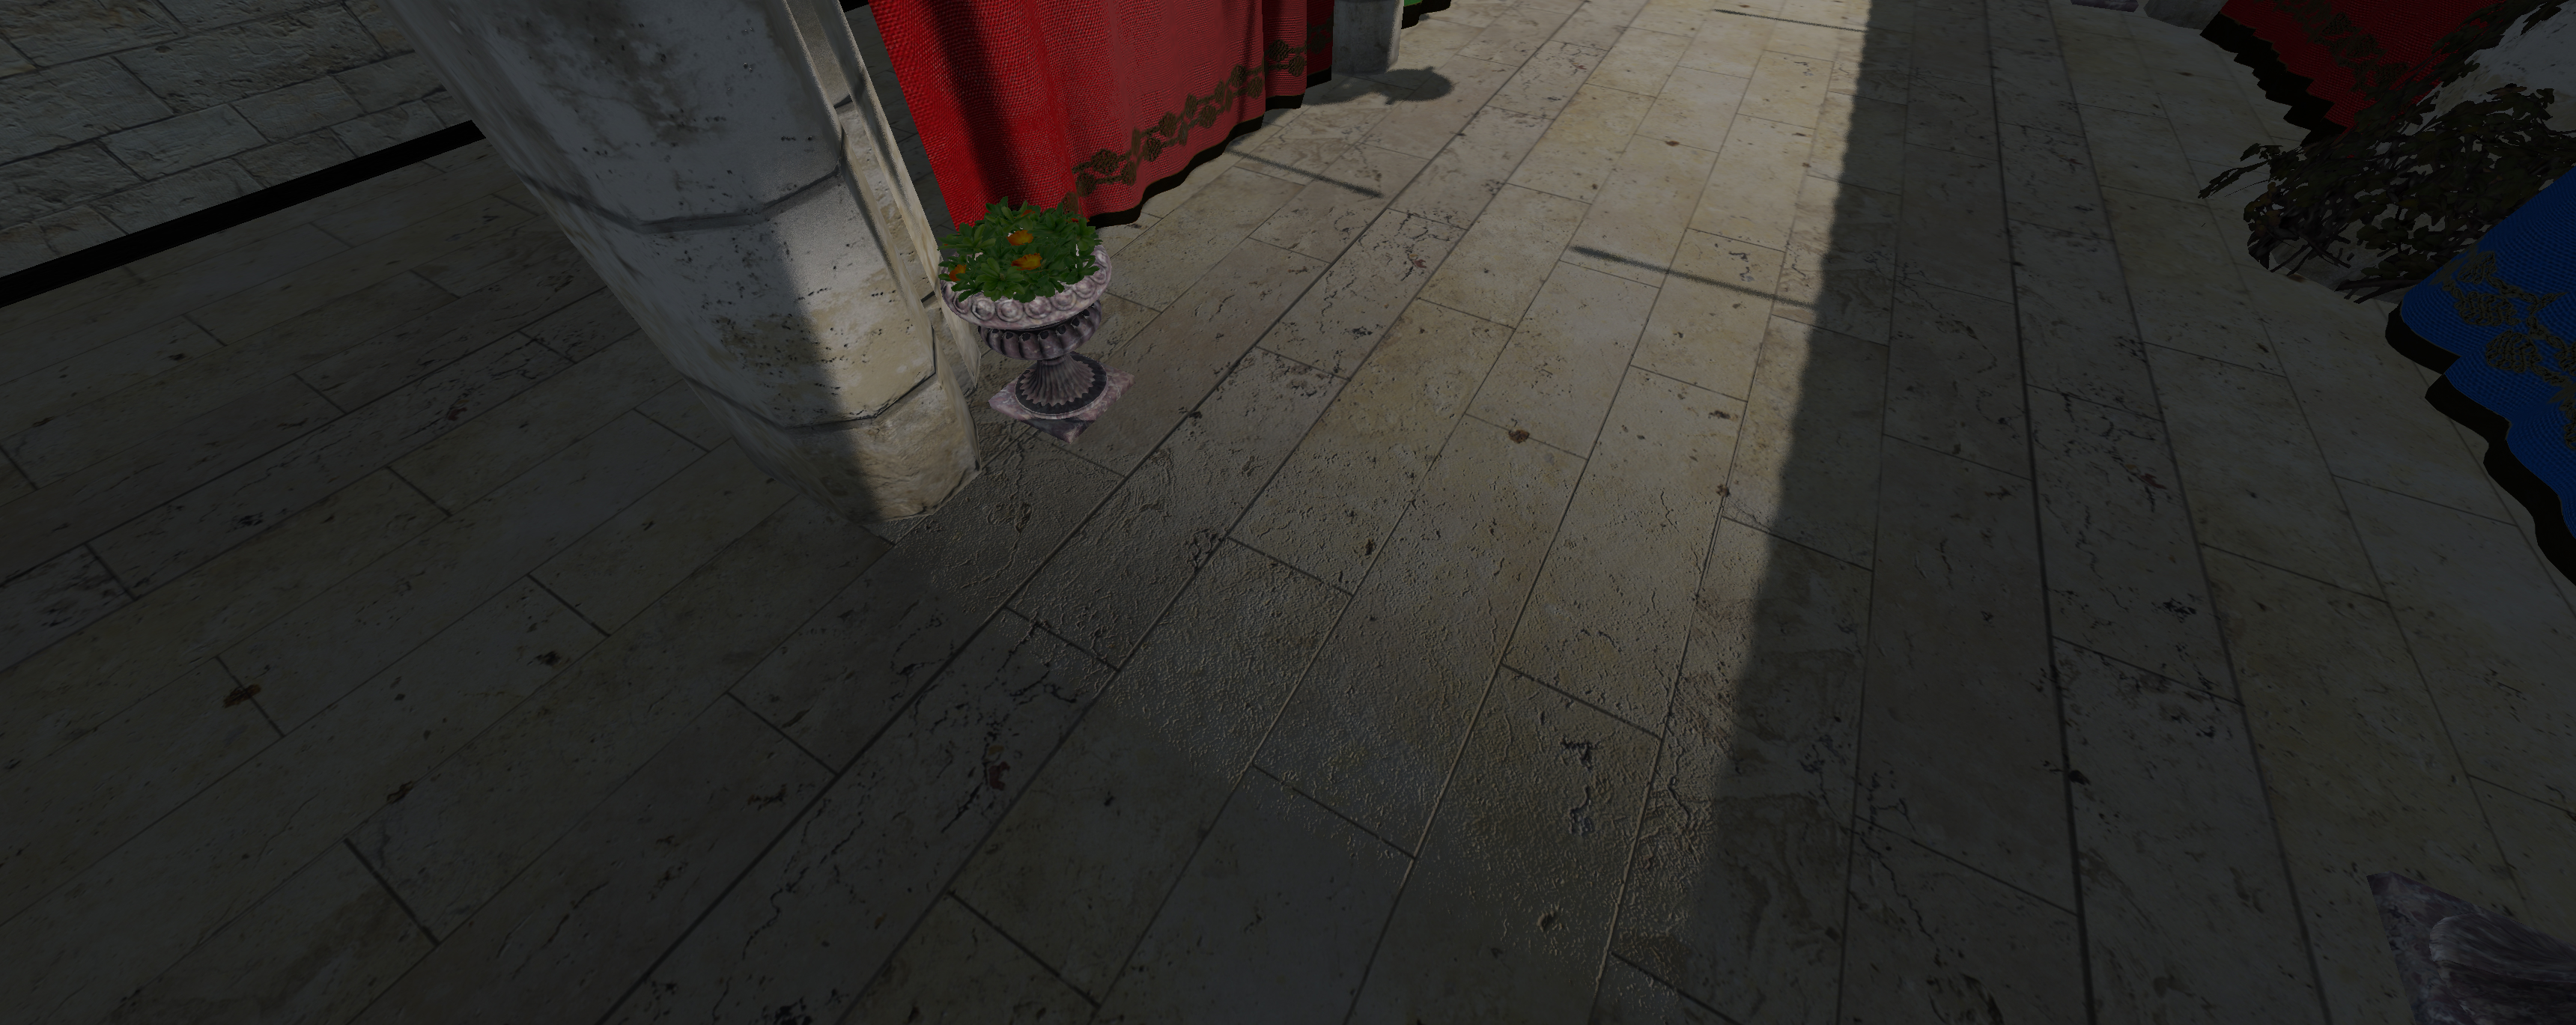
Once loaded, these files can actually be used in a traditional non-PBR workflow to denote specular size and strength, resulting in a pretty noticeable improvement with minimal effort.
 ORMs are quite handy even outside of a PBR setting.
Now, at this point, we just need to import the normal texture; this one is a little more difficult since the direction of the normal will change as the object is rotated in 3D space. However, the texture will only ever describe normals in tangent space, which is as described by LearnOpenGL:
“Tangent space is a space that’s local to the surface of a triangle: the normals are relative to the local reference frame of the individual triangles. Think of it as the local space of the normal map’s vectors” [2].
We can easily create a TBN matrix that can convert to and from tangent and world space by using the tangents and normal values present in the GLTF and calculating the remaining bitangent.
My implementation does end up differing from LearnOpenGL a bit, mainly because I decided not to translate the lighting equations into tangent space, and instead convert the tangent-based normals into world space. Mainly, I decided the performance benefits weren’t worth the headache dealing with tangent-space lighting could incur, and that I should focus on ease of iteration since I still needed to implement the rest of what’s required for PBR.
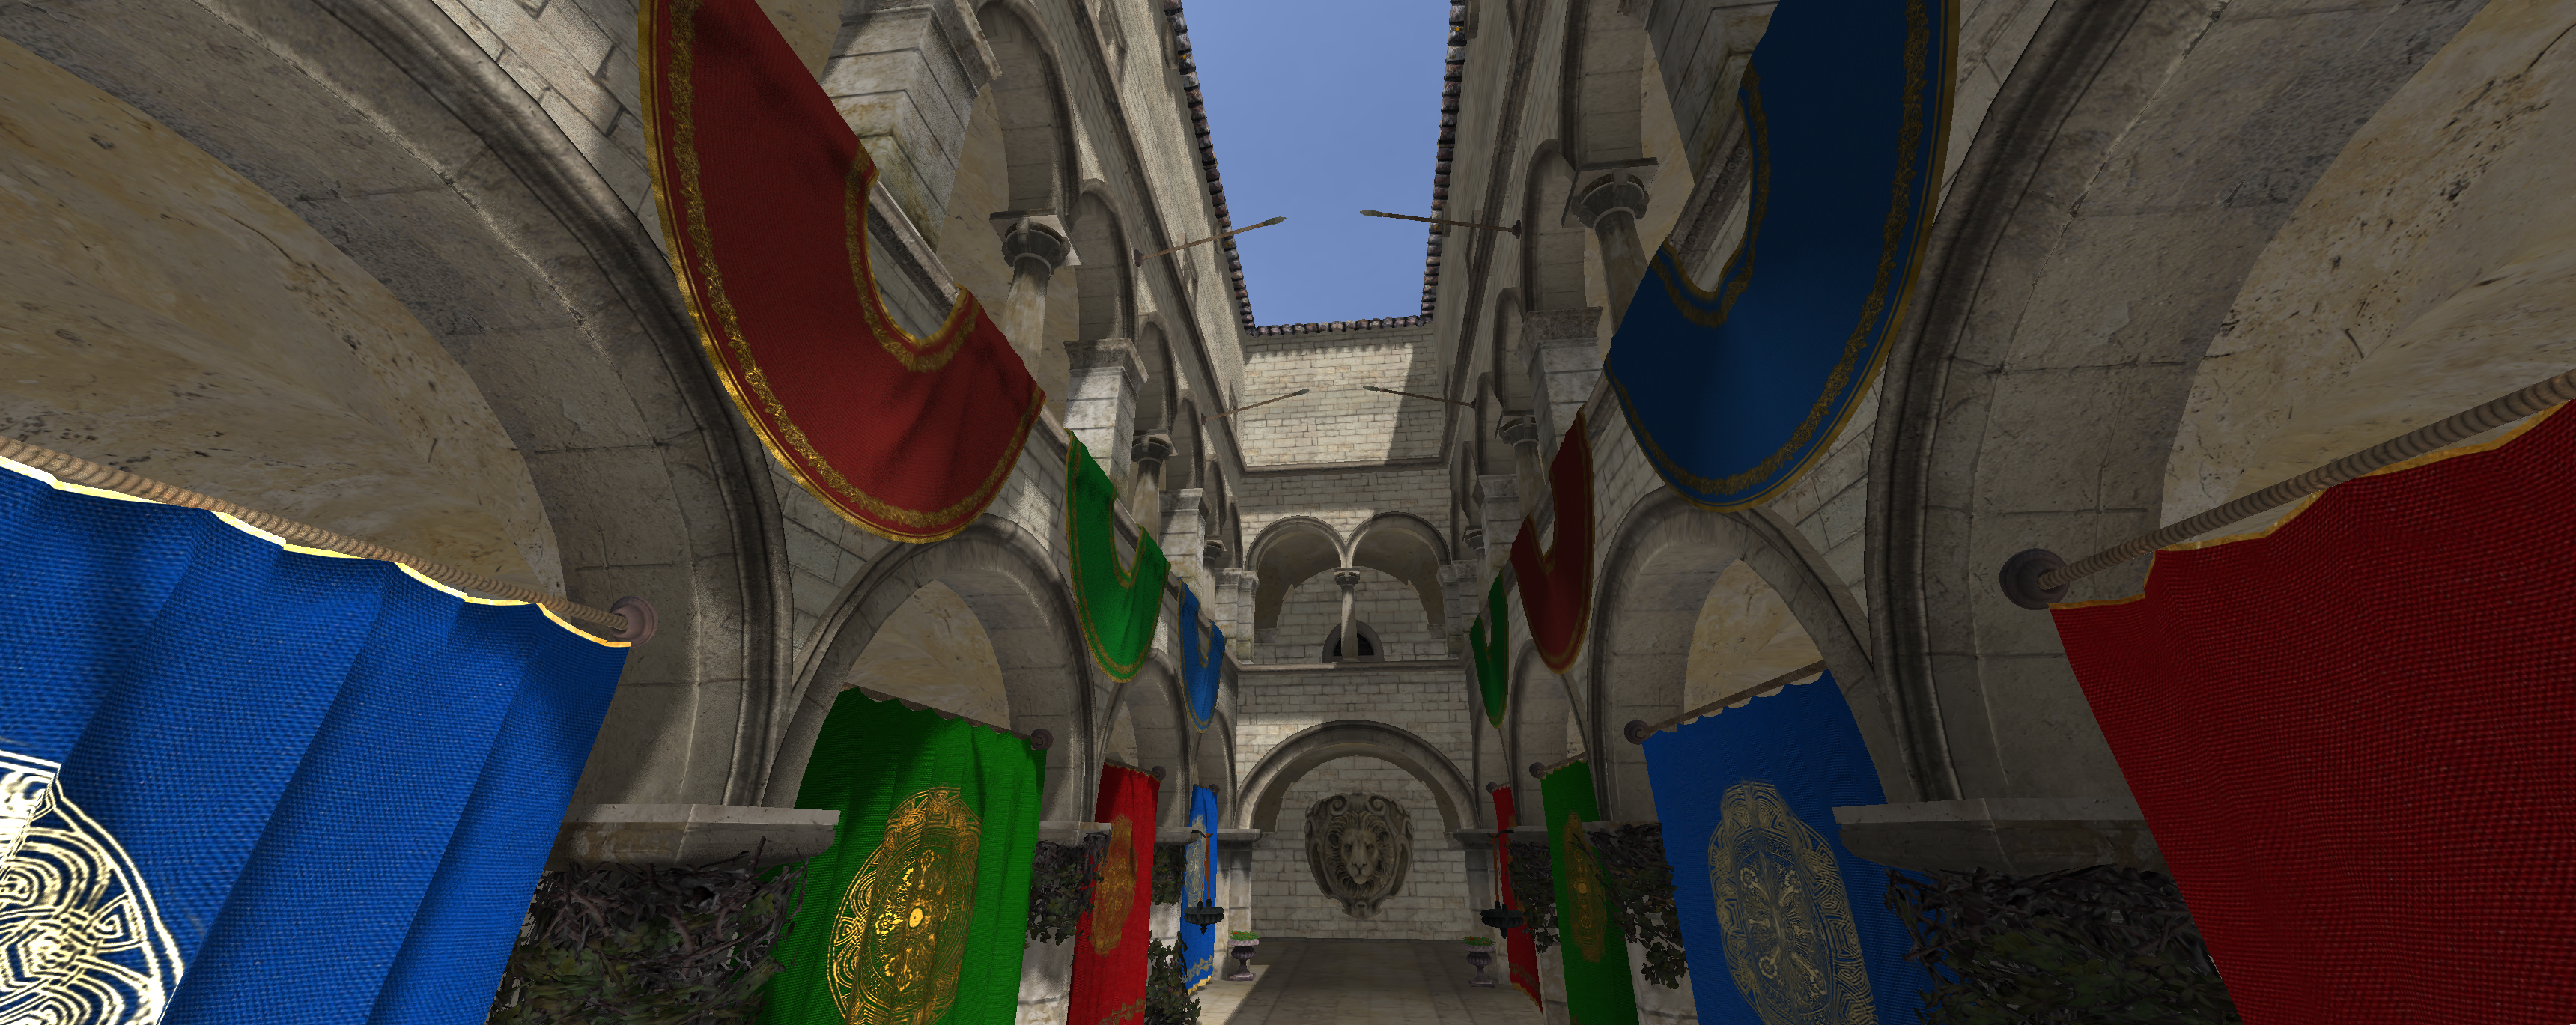
 As can be seen, normal maps can really make scenes pop with detail that we could never hope to model.
The PBR approximation.
At this point, we have mostly everything we need to start implementing PBR. However, we still need to precalculate a few cubemaps and Lookup Textures (LUTs) in order to actually do PBR in a real-time setting. Since I am using Epic’s split sum approximation as defined in learnOpenGL’s specular article [3].
I won’t go into much detail on how I calculate each in my engine, as I really don’t think I could do the math justice in comparison to learnOpenGL, most of my challenges came from having to rewrite the shaders used to precalculate the Irradiance, Prefiltered Environment map and BRDFLUT to compute shaders rather than the fragment + vertex shaders that they were in the article.
Now, I am also avoiding implementing point lights for the time being, but typically, you would get a Lo vector, which is the sum of all radiance, which would accumulate contribution from all light sources.
For my purposes, I will just add the light to the final colour. So all we need is a diffuse, a specular, and a ratio of diffuse light thats refracted by the object, represented by kD in LearnOpenGL [1]. This ratio can be gotten by transforming Schlick’s approximation with the metallic of the surface.
Fresnel factor
Firstly, we calculate the Halfway direction like a traditional Blinn-Phong renderer:
vec3 halfWay = normalize(viewDir + L);
Then we use Schlick’s approximation for the Fresnel factor, well actually the one described in LearnOpenGL’s which is an adaption of Lagarde’s approximation which is a modification of Schlick’s approximation.
vec3 fresnelSchlickRoughness(float cosTheta, vec3 F0, float roughness)
{
    cosTheta = clamp(cosTheta, 0.0, 1.0);
    return F0 + (max(vec3(1.0 - roughness), F0) - F0) * pow(clamp(1.0 - cosTheta, 0.0, 1.0), 5.0);
}
The exact specifics of its implementation aren’t too concerning; it just approximates the Fresnel factor F quite well in comparison to other, more complex algorithms, and is a good balance of speed and correctness. Then we can easily get the diffuse factor as it’s the opposite ratio by subtracting it from vec3(1.0). Of course, we also want the metallicness of the object to reduce the amount of light diffusely refracted, which we do by multiplying the refracted light by 1 - metallic.
BRDF
Now, at this point, we can calculate the diffuse by multiplying the irradiance (the integral of all incoming radiance/light from the HDRI) by the albedo. We can get the irradaince from our precomputed cubemaps as well as the specular by taking our prefilteredColour map (takes an input roughness, reflection vector and returns approximately how the light would scatter in a environment convolution with a GGX specular lobe [3]) and combining it with the BRDF obtained from the LUT. These are then combined via this code,
if (roughness <= 0.7)
{
    vec3 prefilteredColour = textureLod(prefilterMap, R, (roughness * MAX_REFLECTION_LOD) - 1).rgb;
    vec2 envBRDF = texture(brdfLUT, vec2(max(dot(normal, viewDir), 0.0), roughness)).rg;
    specular = prefilteredColour * (F * envBRDF.x + envBRDF.y);
}
Which is very similar to LearnOpenGL’s [3] implementation, with some modifications. I cut off very rough surfaces from having specular, and also biased the prefilteredColor to pick sharper rather than blurry reflections, because they tend to look a bit better.
Tonemapping.
At this point, I have a fairly functional implementation of PBR, and I can start experimenting with the visuals some more, particularly with regard to tone mapping. I experimented between 3 functions: Reinhard, ACES [4] and Khronos’ PBRNaturalToneMapping Implementation [5]. Obviously, all of these approaches will appeal to different people, so I’ll show all three and describe their merits.
Reinhard
Reinhard is one of the simplest tonemappers that exists, and it kinda shows; it replicates the colours of my standard material renderer well, making it good for more subtle implementations of PBR (perhaps something stylized with brighter colours to begin with?).
However, when used in a more realistic scene, the muted shadows and dull colours aren’t awful, but pale in comparison to other renderers.
ACES

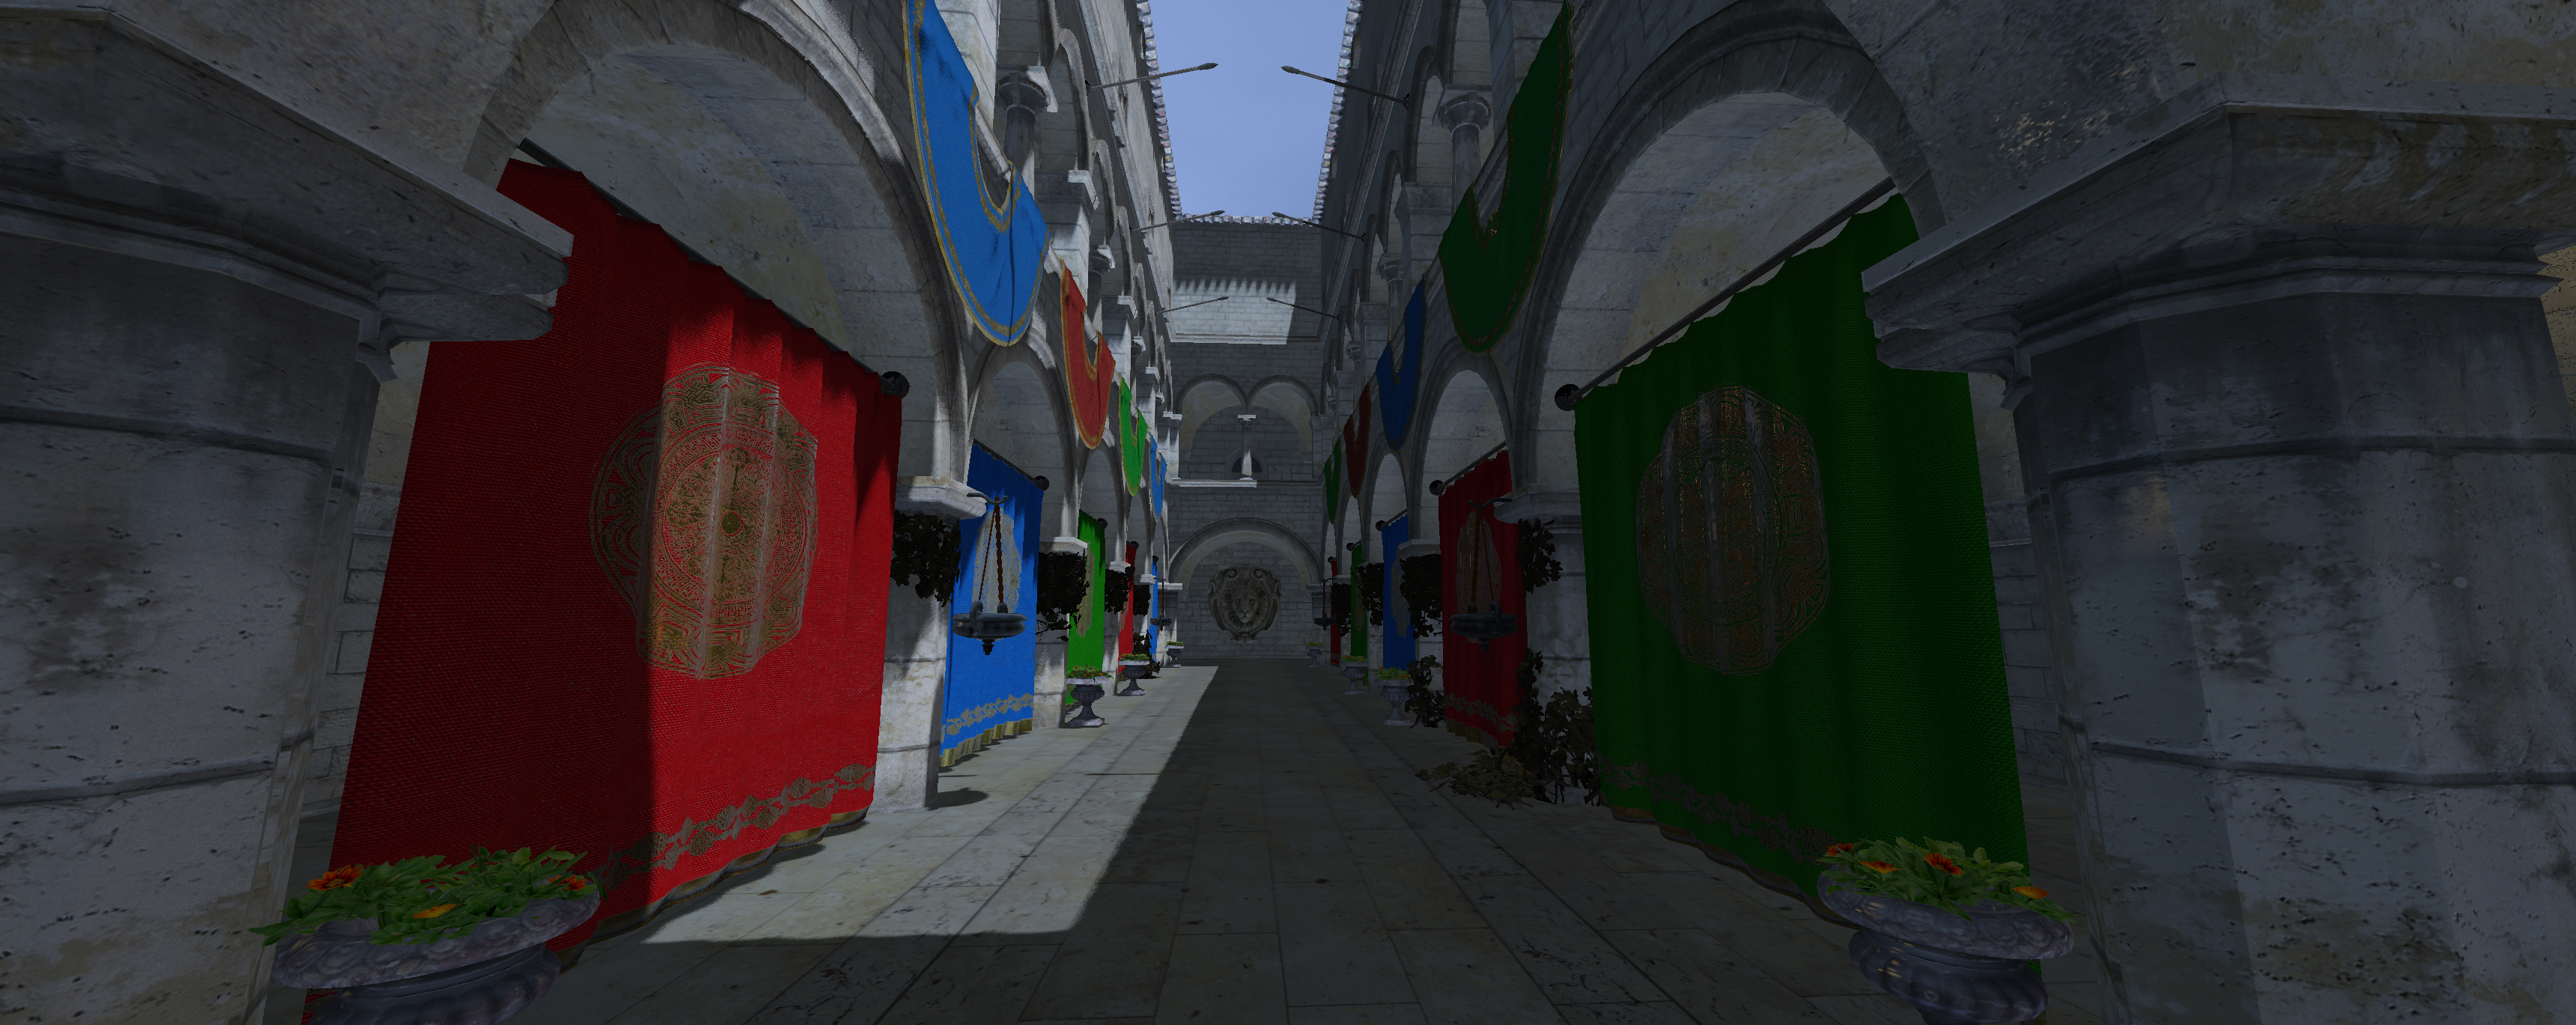
ACES is a major improvement in most ways from Reinhard. Shadows are darker, the colour of the sunlit banners is vibrant and punchy, and the detail of moss growing on the stone bricks is preserved in comparison to Reinhard.
The image has a much higher contrast overall, and areas hit by sunlight feel realistically bright. However, the banners in shadow are much darker than Reinhard and can look a little muddy in comparison.
This type of tonemapping feels the most realistic out of all of them, being almost filmic in nature. Unfortunately, the crushed darks are just a bit too much to sacrifice in my opinion.
PBRNeutral
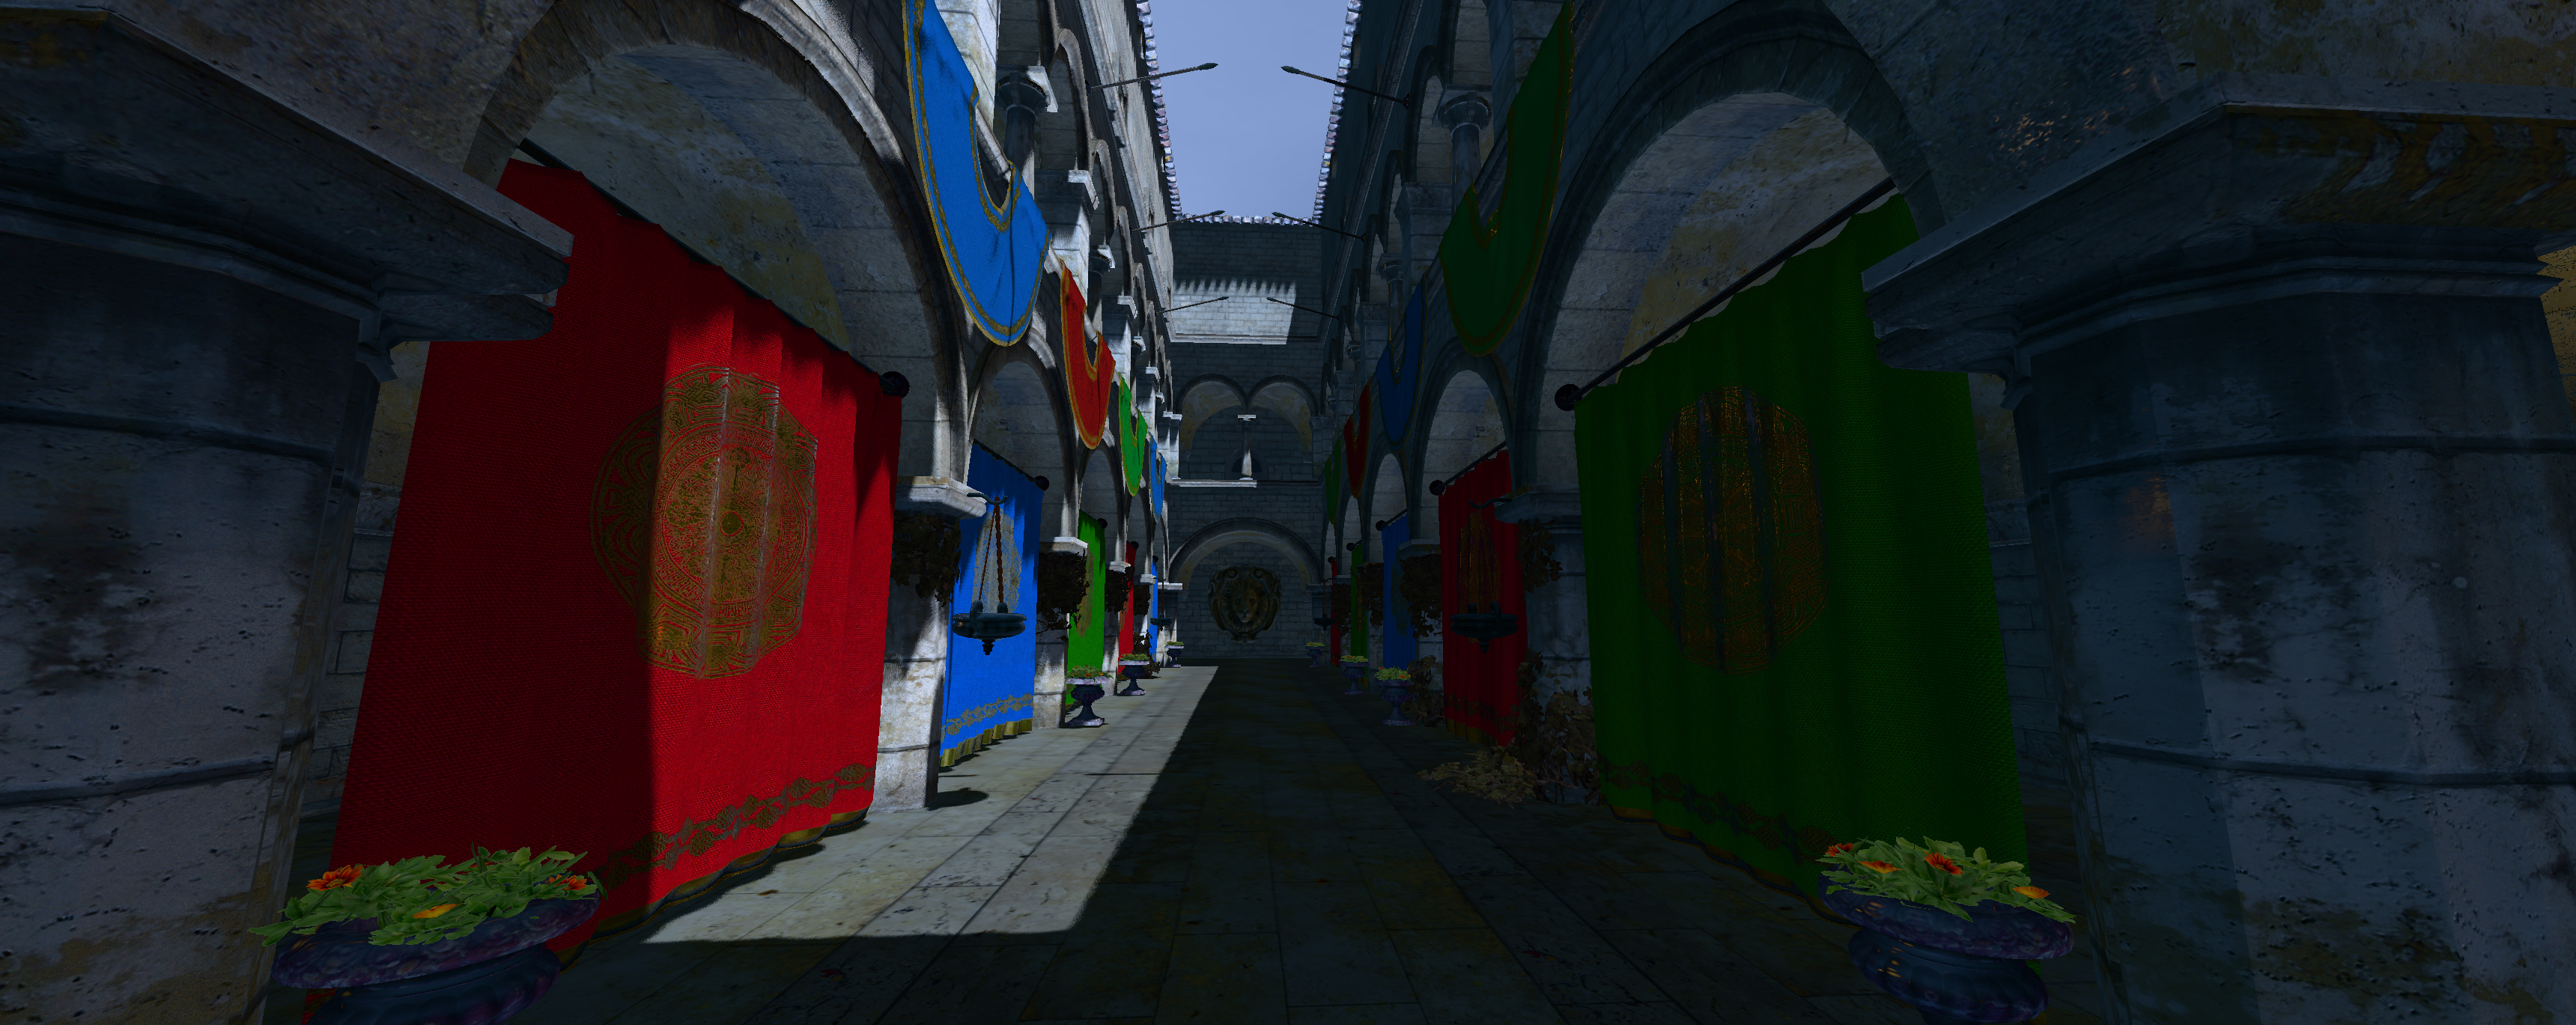
This tonemapper was created by the Khronos group to create a standard for tonemapping in rendering applications, and honestly, it does a great job. Like ACES, the shadows remain dark, but instead of becoming somewhat muted, their colours and, in turn, details are preserved.
The moss growing on the stone bricks is far more obvious in comparison to Reinhard or even ACES, and you can even tell that moss grows on the underside of the arches in the Sponza scene. The areas hit by sunlight remain realistically bright, but the banners remain vibrant even when occluded by shadows.
The biggest downside is that this tone mapper seems to blueshift the image slightly, and darker areas become somewhat blue instead of black; whether or not this is a major issue comes down to artistic taste.
Realistically, the shadows are too blue, but blue is a common substitution for blacks when shading shadows in traditional art, so the effect looks more painterly(is that the right word?) than inaccurate.
Conclusion
I am really happy with the final results of this PBR renderer. In the end, I improved both the depth of materials the engine could represent and massively improved the aesthetics of the engine. It’s starting to look quite nice, and while there are still several large technical hurdles to overcome, like Forward+ rendering and post-processing, having it look nice already is really making me excited to keep on working on it.
References
– [1] LearnOpenGL, https://learnopengl.com/PBR/Lighting
– [2] LearnOpenGL, https://learnopengl.com/Advanced-Lighting/Normal-Mapping
– [3] LearnOpenGL, https://learnopengl.com/PBR/IBL/Specular-IBL
– [4] Knarkowicz, https://knarkowicz.wordpress.com/2016/01/06/aces-filmic-tone-mapping-curve/
– [5] Khronos, https://www.khronos.org/news/press/khronos-pbr-neutral-tone-mapper-released-for-true-to-life-color-rendering-of-3d-products